In 2001, I was working and living in Hong Kong. As I’ve always done, I took advantage of this opportunity to see and do as much as I could.
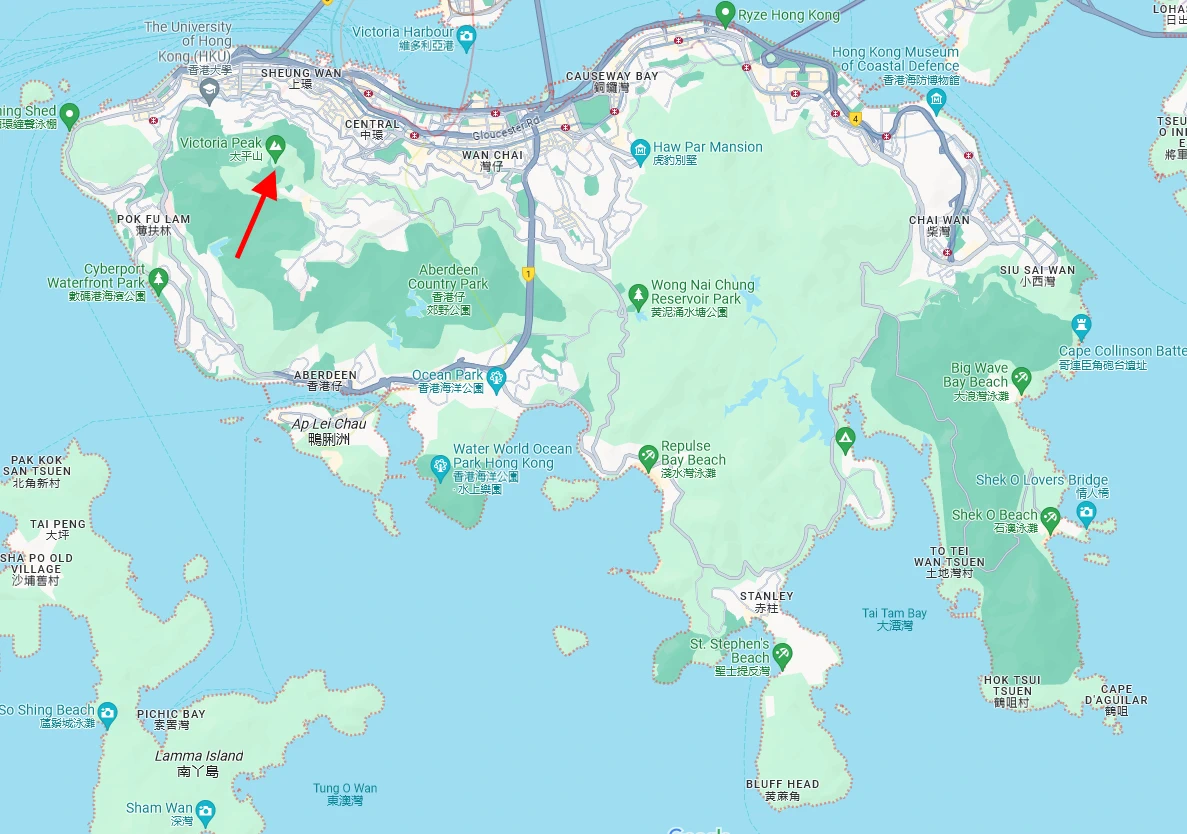
One of my family’s visits was to Hong Kong’s Victoria Peak, which is a tourist spot and the highest (or one of the highest) publicly accessible spots in the former British colony (red arrow above). Victoria Peak is named after the late monarch, Queen Victoria. Hong Kong is a curious mix and clashing of British and Chinese culture.
We went to “The Peak” with some friends – Bill and Maria. Our daughters had met the first day of school and became fast friends. After dinner, we had a bit of time to wander around the platform.
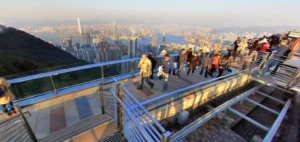
The inset photo shows the approximate location of where I took some photos. I think it’s been changed, because I recall shooting between horizontal rails, but I don’t recall glass panels.
GETTING THE SHOTS
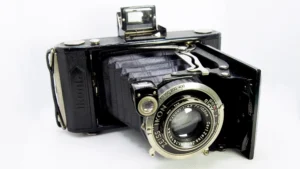
I had two cameras with me, because I usually did and still do. One of the camera was my 1935 Zeiss Ikon Ikonta 520/2, which uses 120 roll film and gives you 6×9 negatives.
This Ikonta had an f/4.5 10.5cm Carl Zeiss Jena Tessar – one of the sharpest lenses that I’ve encountered. It’s a great camera, although slow to use. I used a cable release, and I guessed on the framing for each shot, because trying to use this camera’s viewfinder at night proved to be fruitless.
The Ikonta was loaded with Fuji Reala, a 100-speed print film. I can’t recall if I had a light meter with me, and it would have been useless, because it was about 9 p.m., and darkness had fallen across the city a couple of hours earlier.
I recall setting the lens at f/8, and focus at infinity. I estimated exposure at about 10 seconds. I did a referee count with my right hand of 10 seconds per shot. I had a small tripod with me, and that turned out to be an excellent decision, particularly when you’re doing timed exposures at night surrounded by hundreds of people. I moved around the platform, and each photo was taken about 10-15 feet from the other.
A couple of days later, I had the film processed, and as I leafed through the photos, it occurred to me that I might be able to put them together to create a panoramic image.
STEP 1
I figured it would be a simple matter of stitching three shots. I selected the three photos that I thought might work. Should be an easy peasy job, right?
No. It wasn’t.
The reality was that it took me hours to accomplish this. The main issue was that I had shot three different photos from three different locations on the platform without intending to create a panoramic image. That’s not how you plan this type of photo.
First, I scanned them as high-resolution 1,600 dpi TIFFs, using my very reliable and still excellent Epson Expression Pro 1600 flatbed scanner, which has holders for 120 film.
The final scans were each roughly 5,200×3,400 and roughly 50MB.
What you see below are the three uncropped photos.
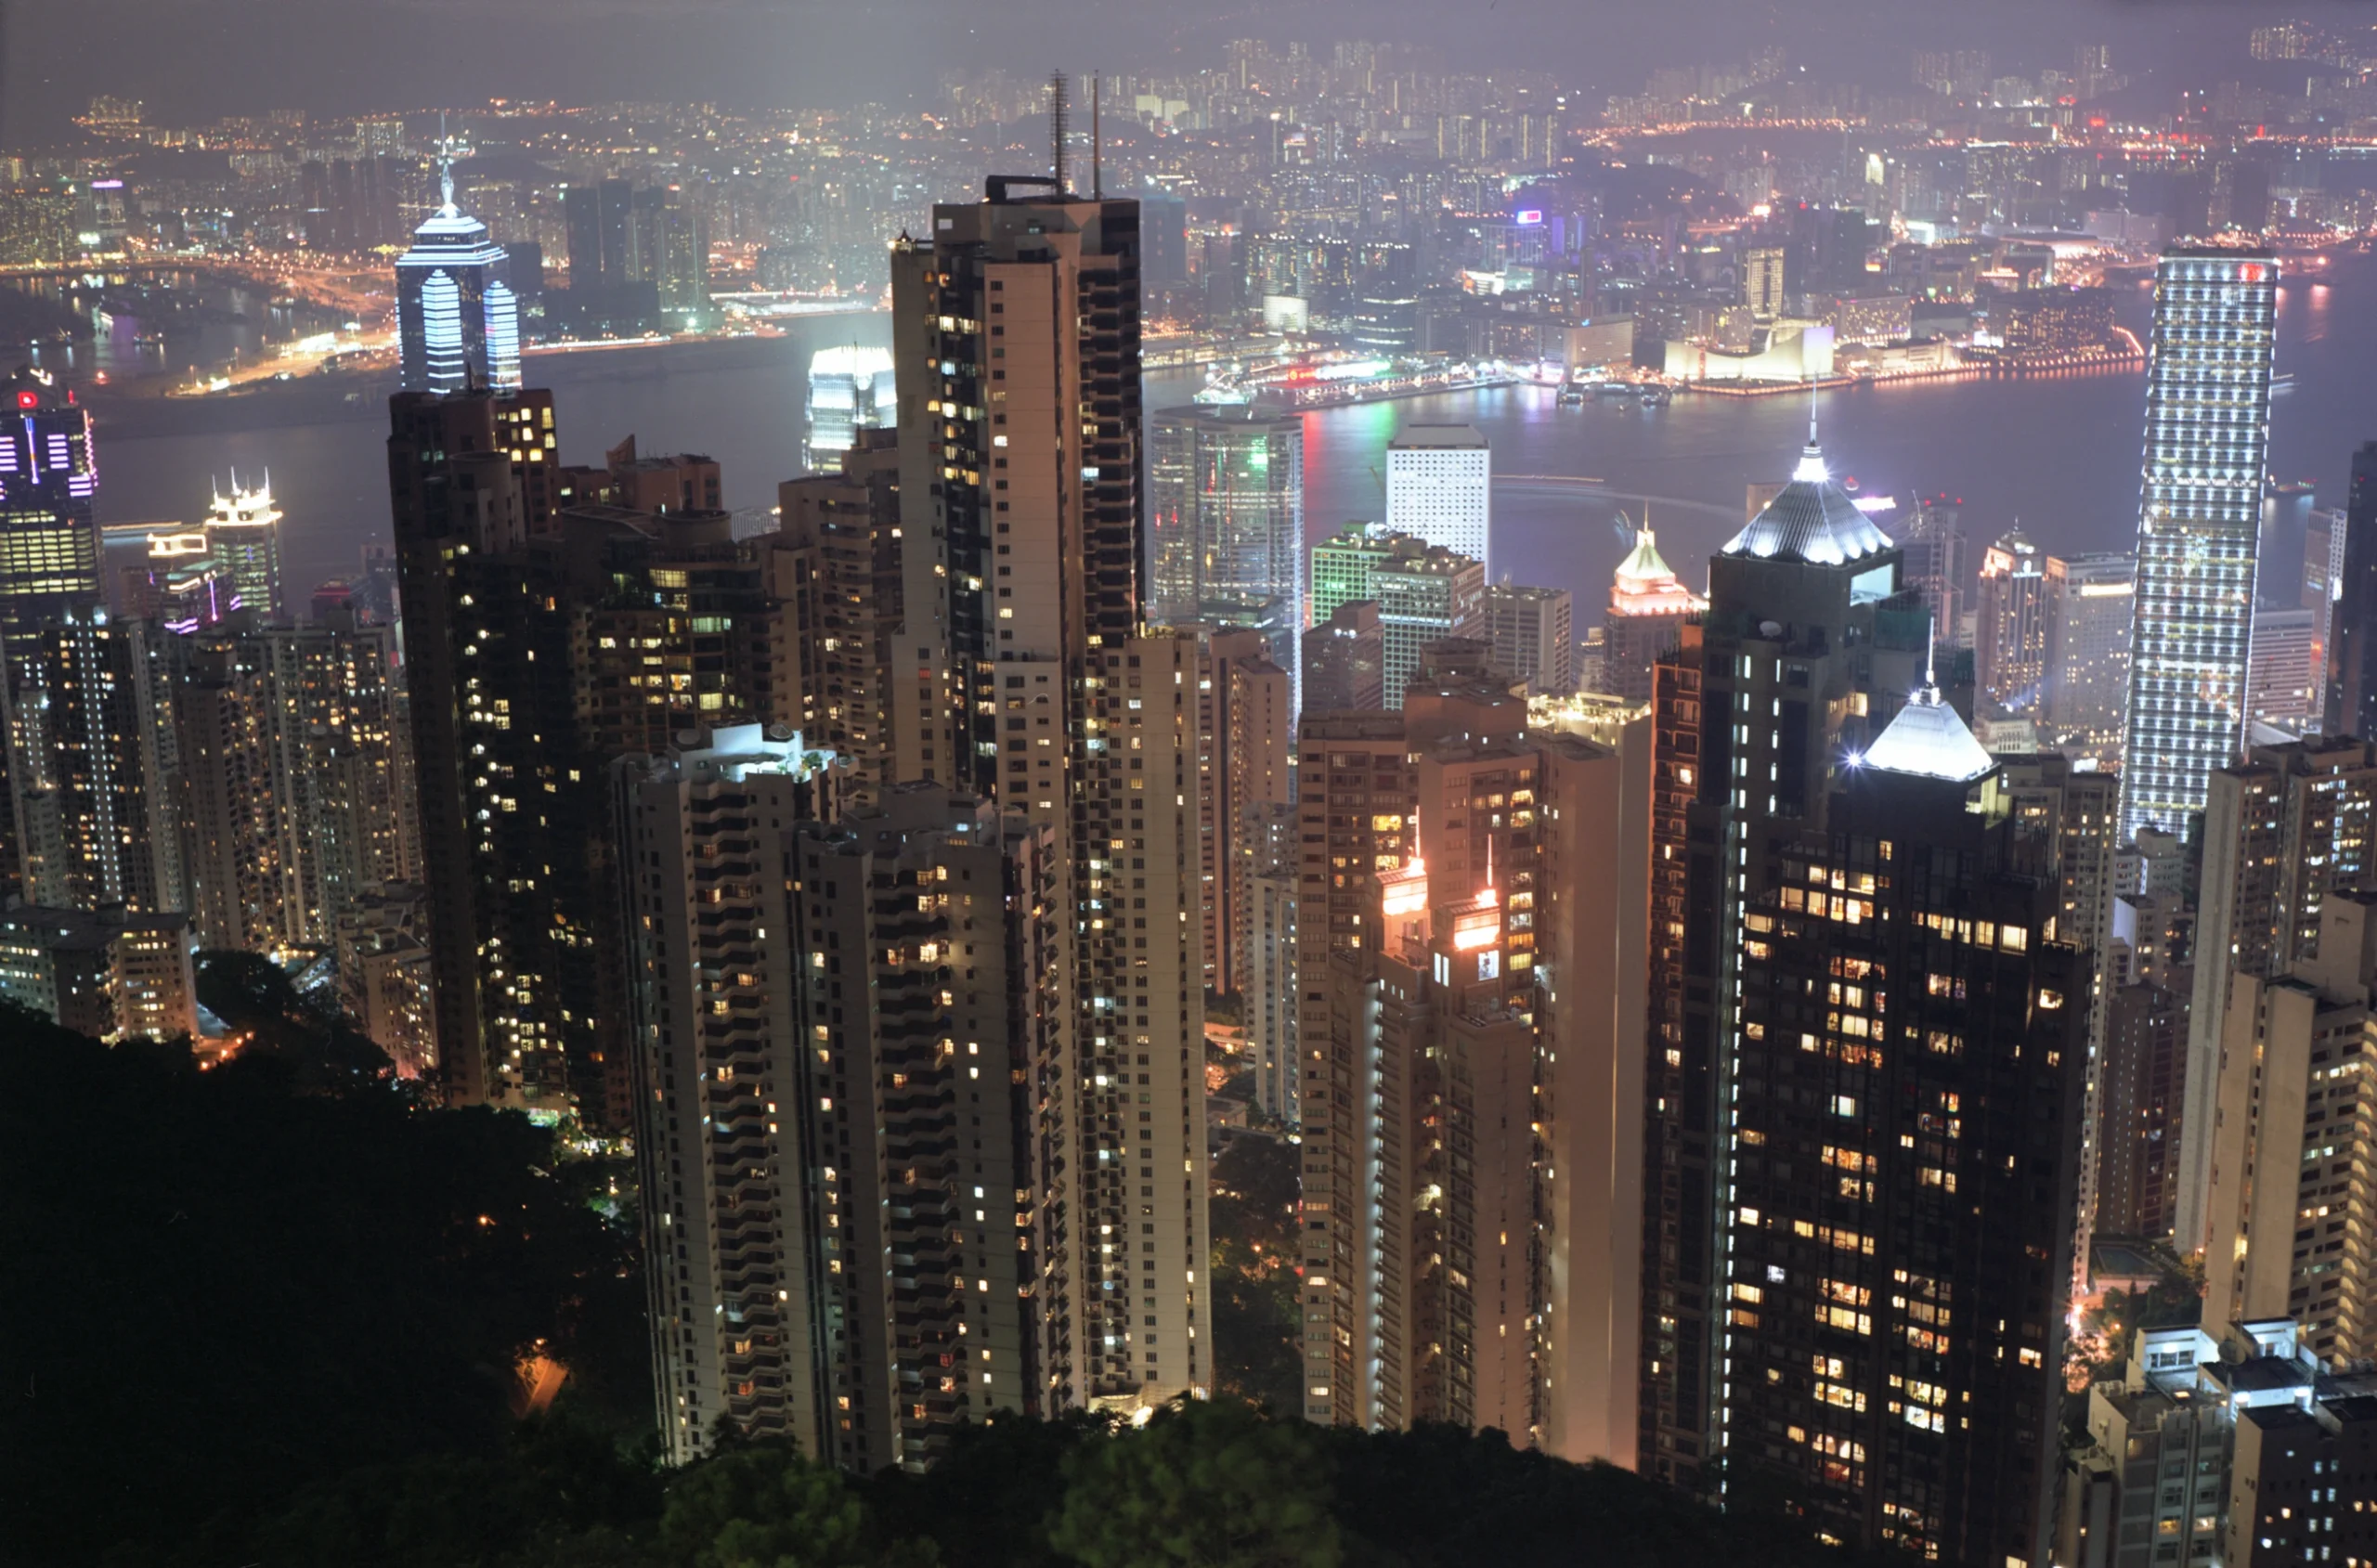
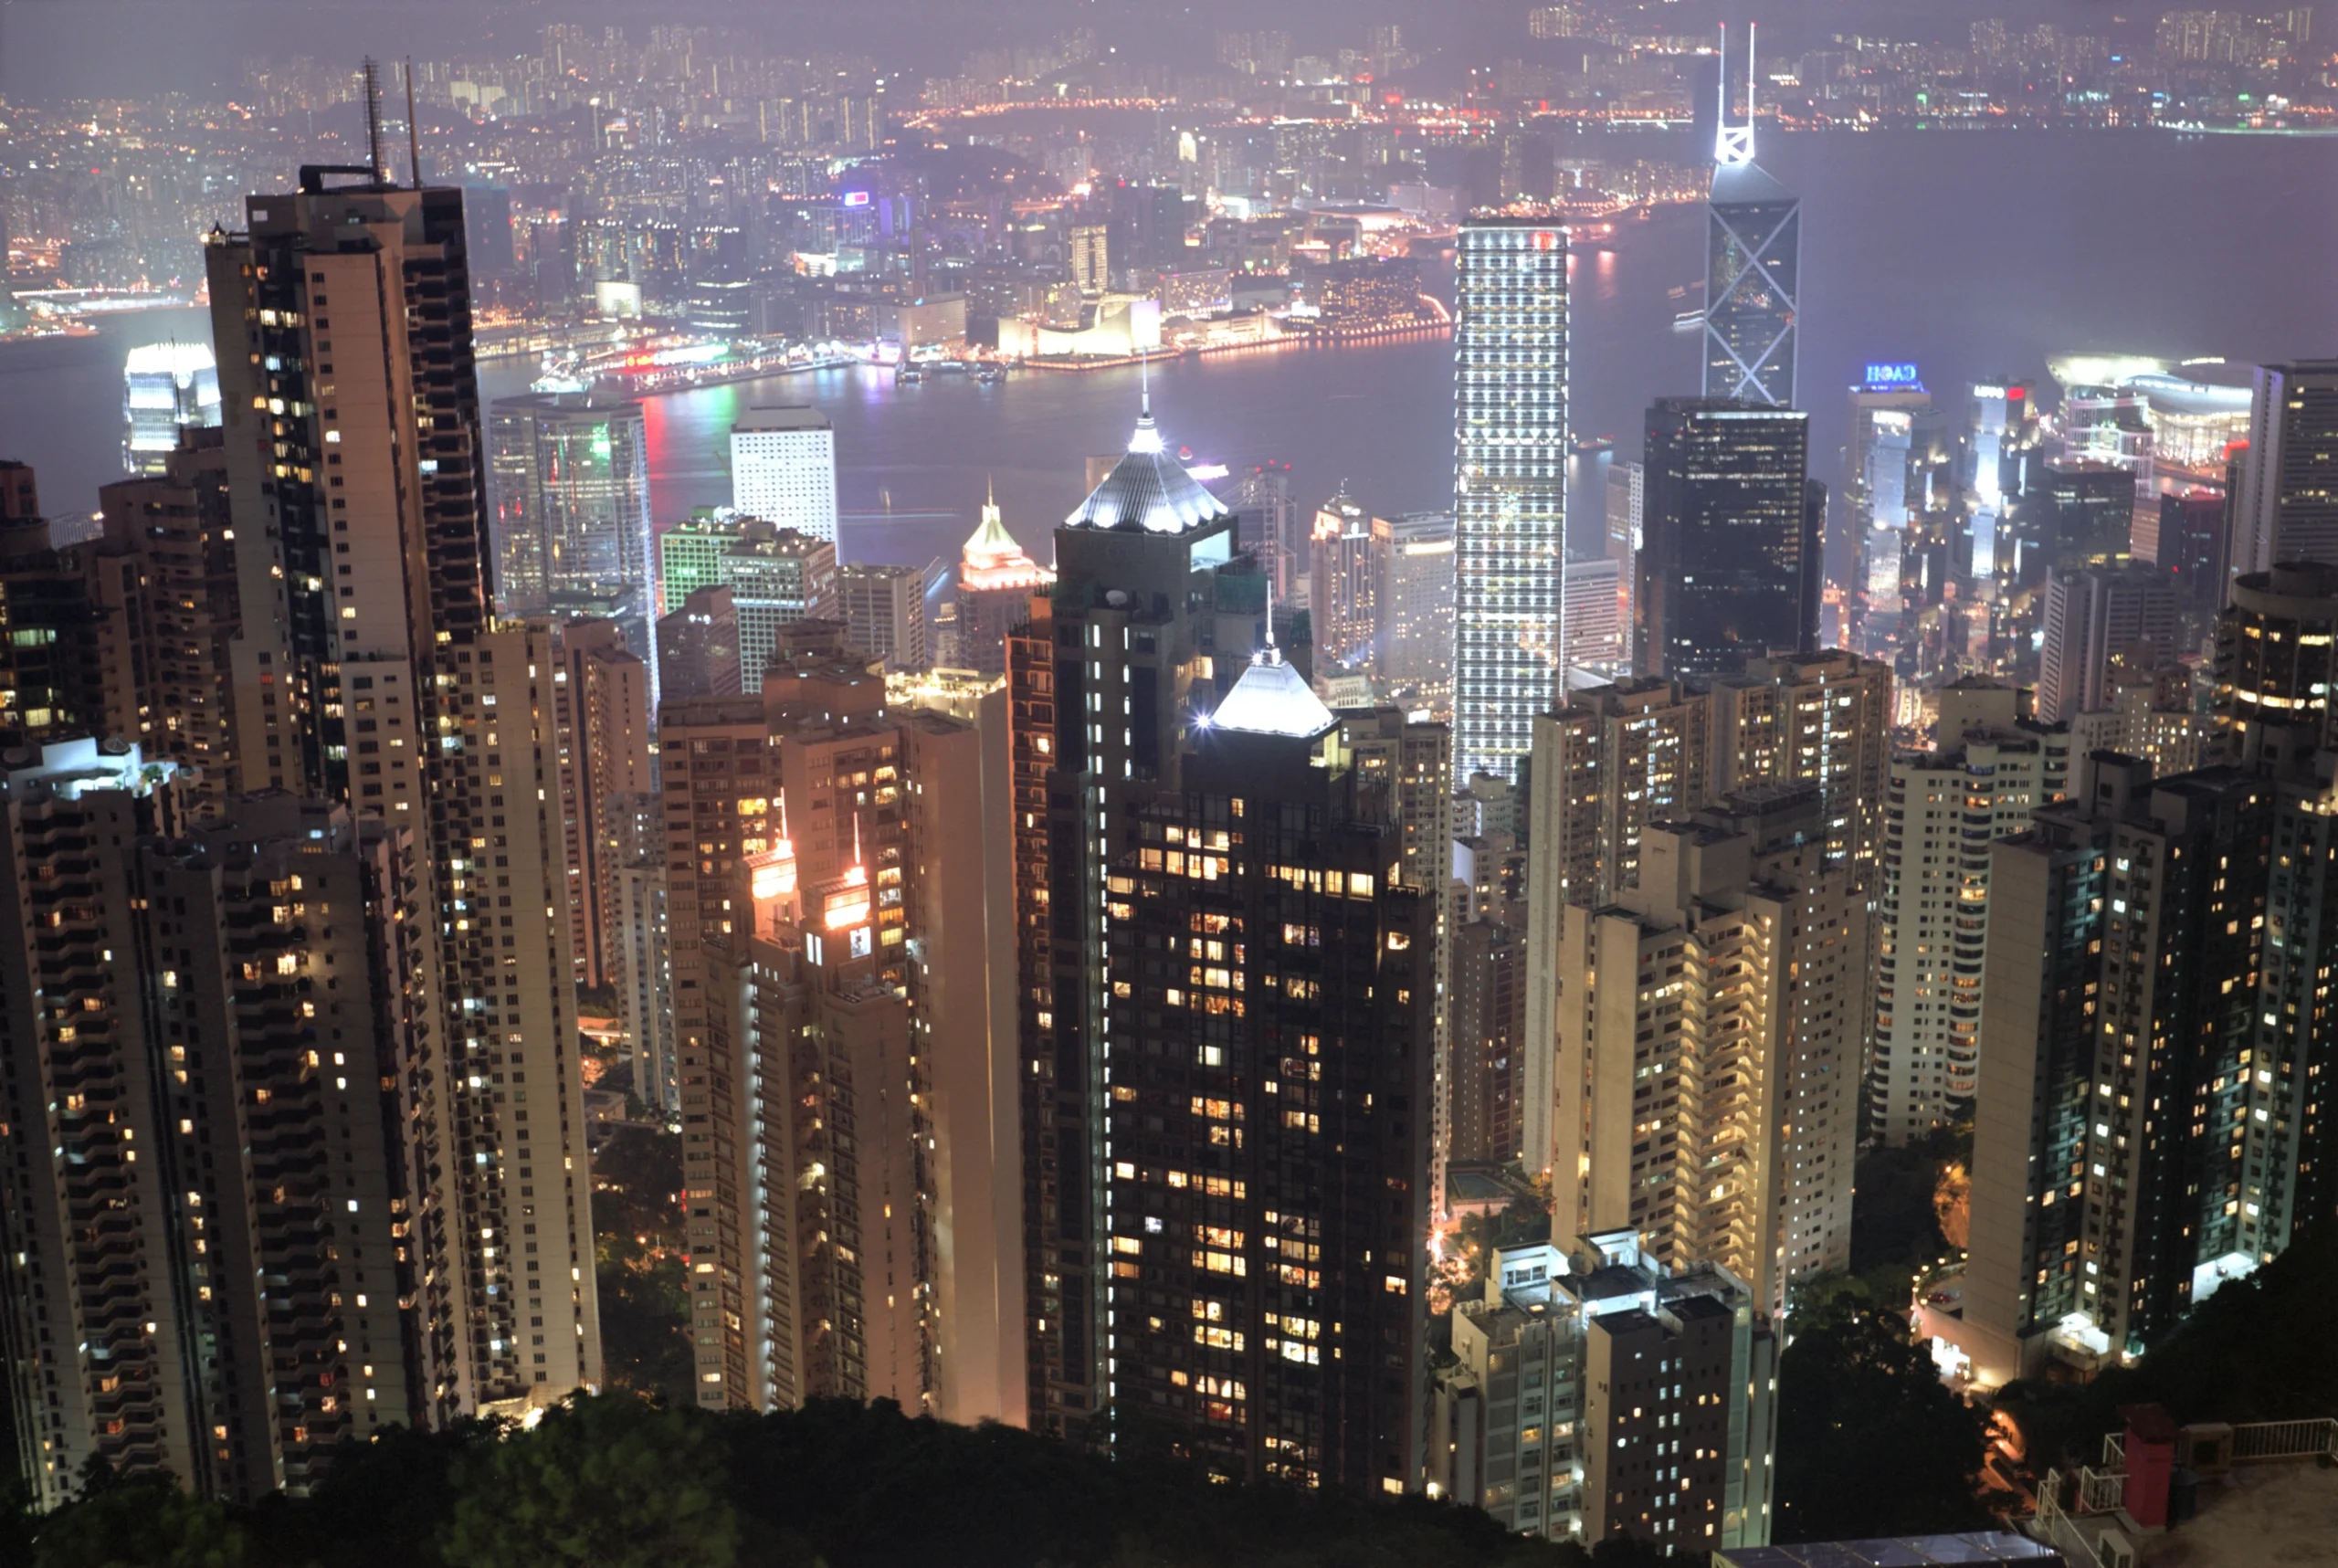
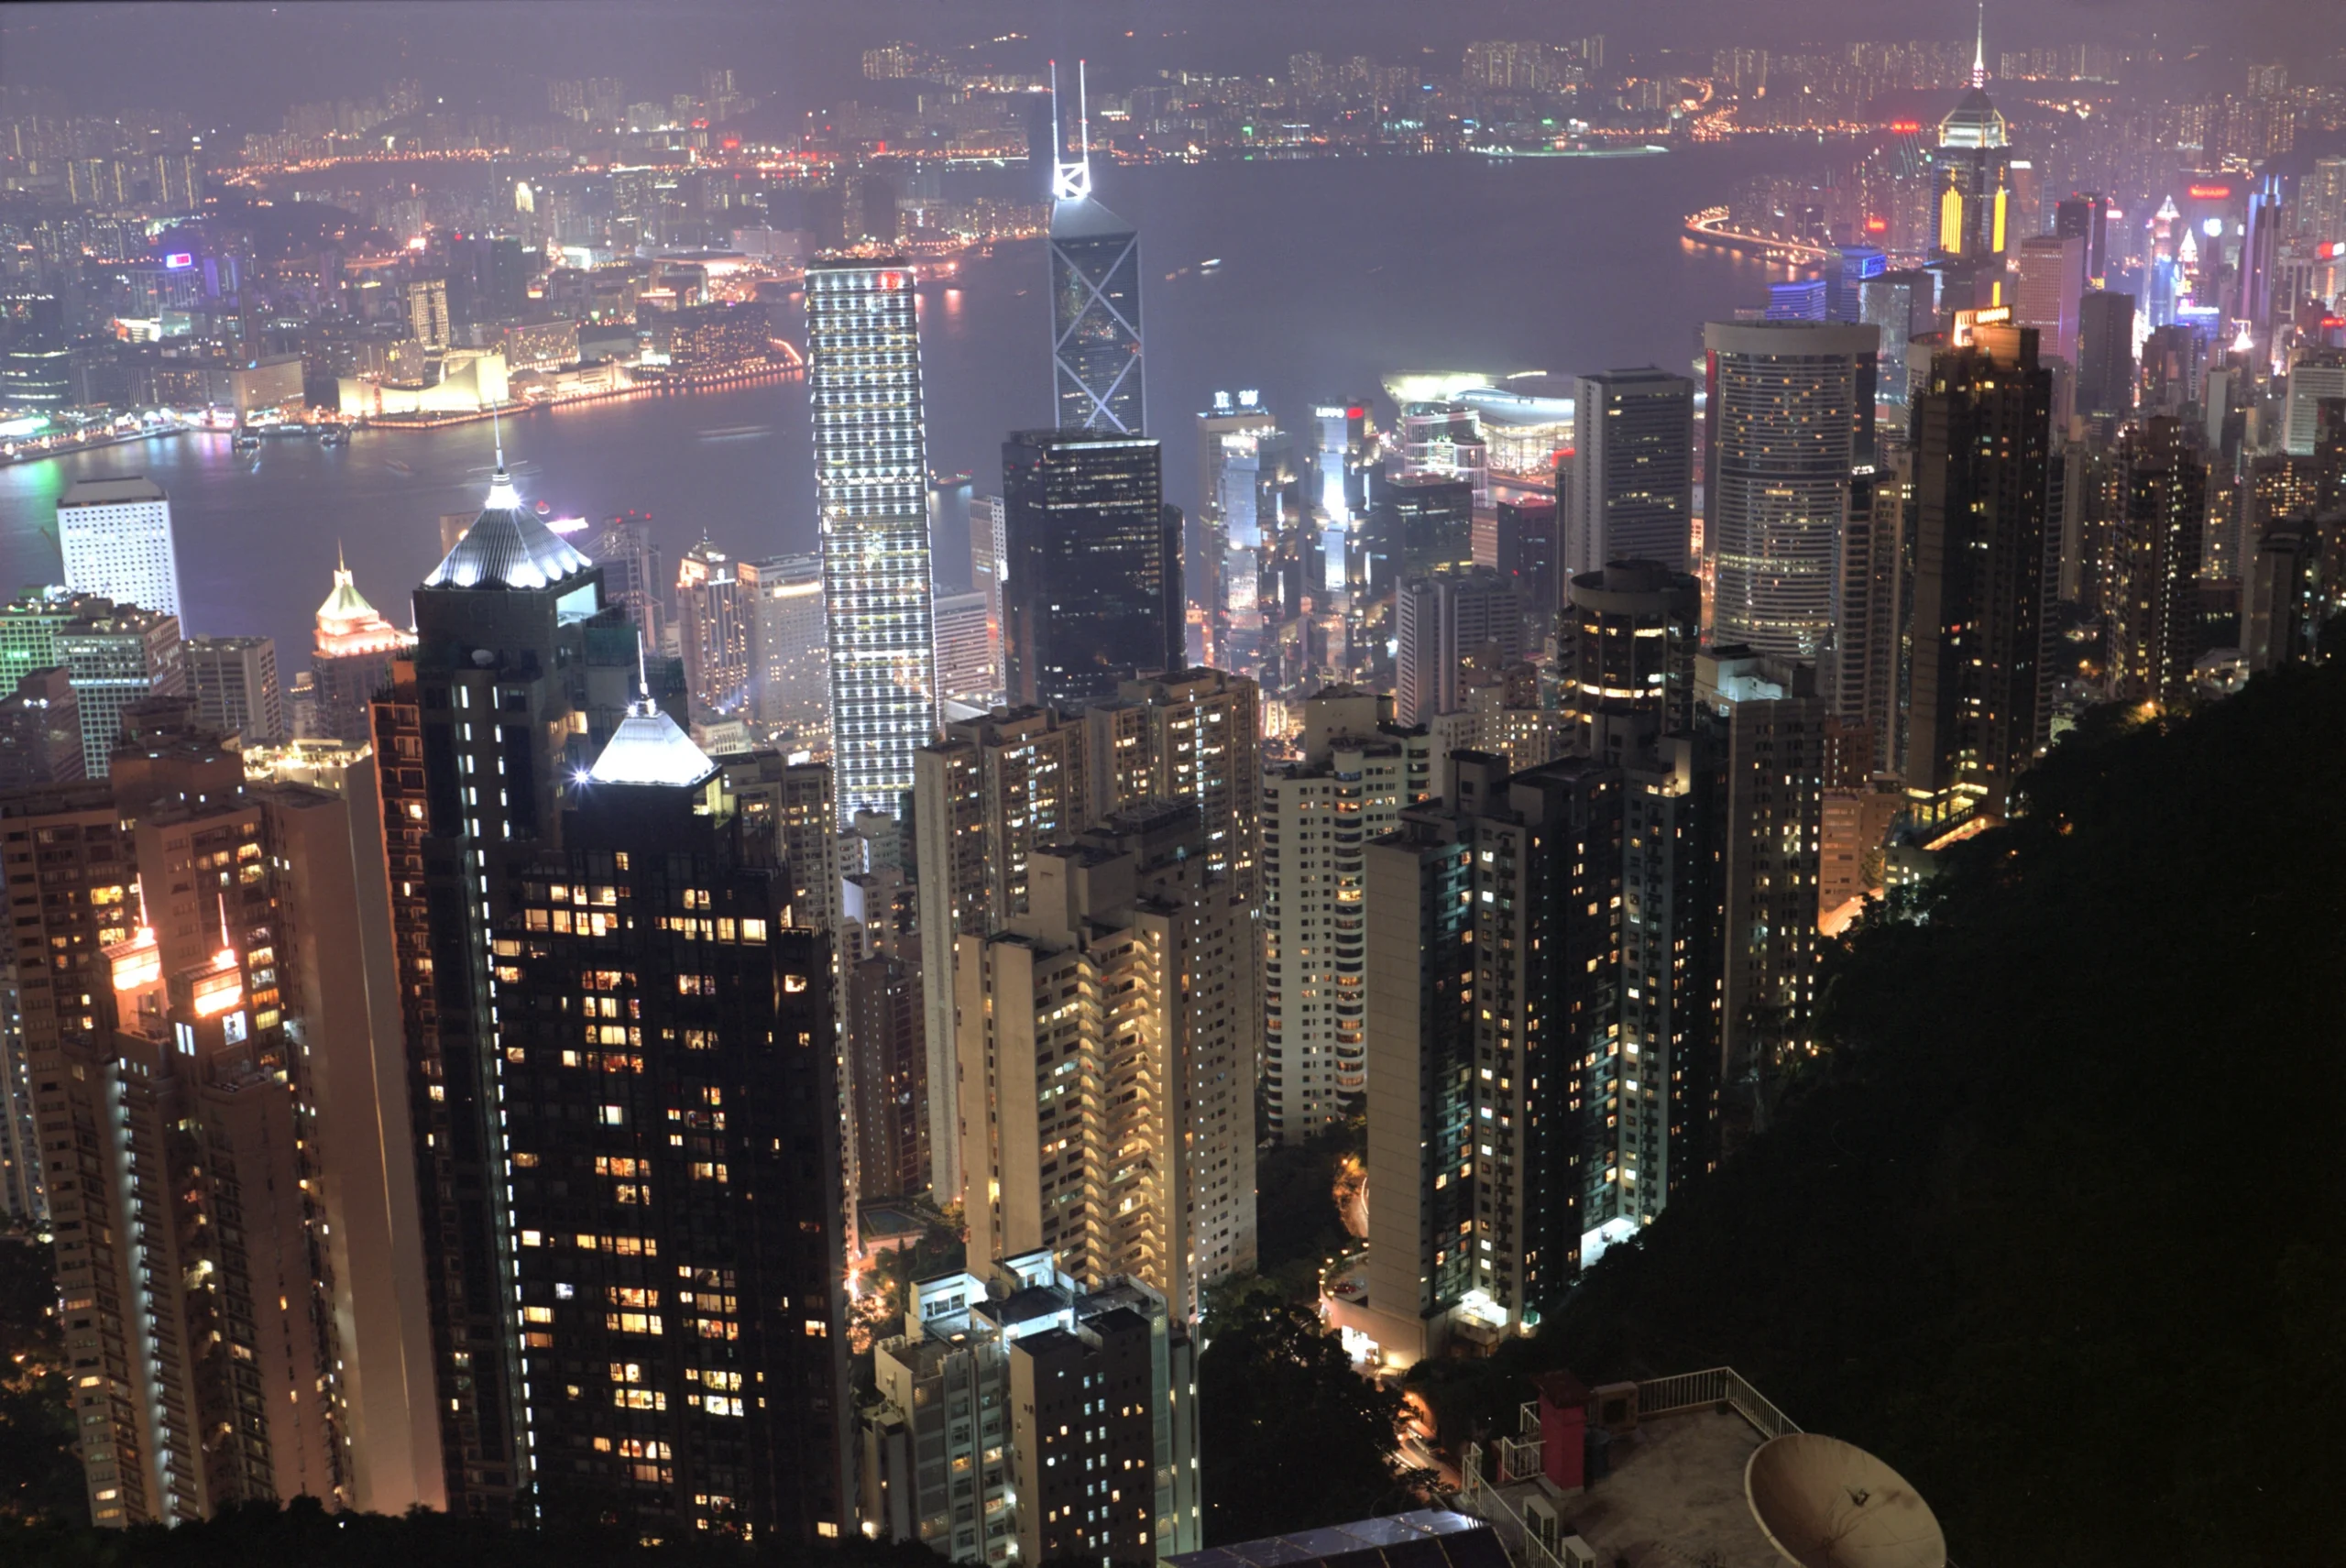
My challenge was to get them into a single image. I had no idea of where these photos would align.
Now, it was time to get to work. My working canvas in the image editor was 15,700×5,110.
STEP 2
One of the first things that I did was trim the left and right photo by identifying the buildings in the middle photos, which was locked in place This allowed me to work with smaller photos on the left and right and not have to worry about trying to align large redundant portions of those photos.
It wasn’t a matter of paste, and it’s done. The end photos had to be rotated but by different amounts.
Starting with the left photo, I rotated it one degree at a time while moving the image to the left or right or up or down several pixels until I found the point where buildings and objects near and distant in the photos were in alignment. This was best done by changing the opacity of the left photo so I could more easily see the overlap.
However, because I had taken each of the photos from different locations, my film plane to subject distance changed. Insignificant amounts became magnified as the camera to subject distance increased. I was never able to get the two end photos in exact alignment, although I was able to get it very close.
Once this was accomplished, I locked the left photo in position. Then I repeated the task for the right photo. With all three photos locked into place, I went through the laborious task of correcting some of the mismatched portions of the image using the clone tool. This took an unexpectedly long amount of time.
I made backup copies along the way.
Here’s the final image before cloning. You can see the rotation of the two photos on the end and the amount of overlap of the middle shot.
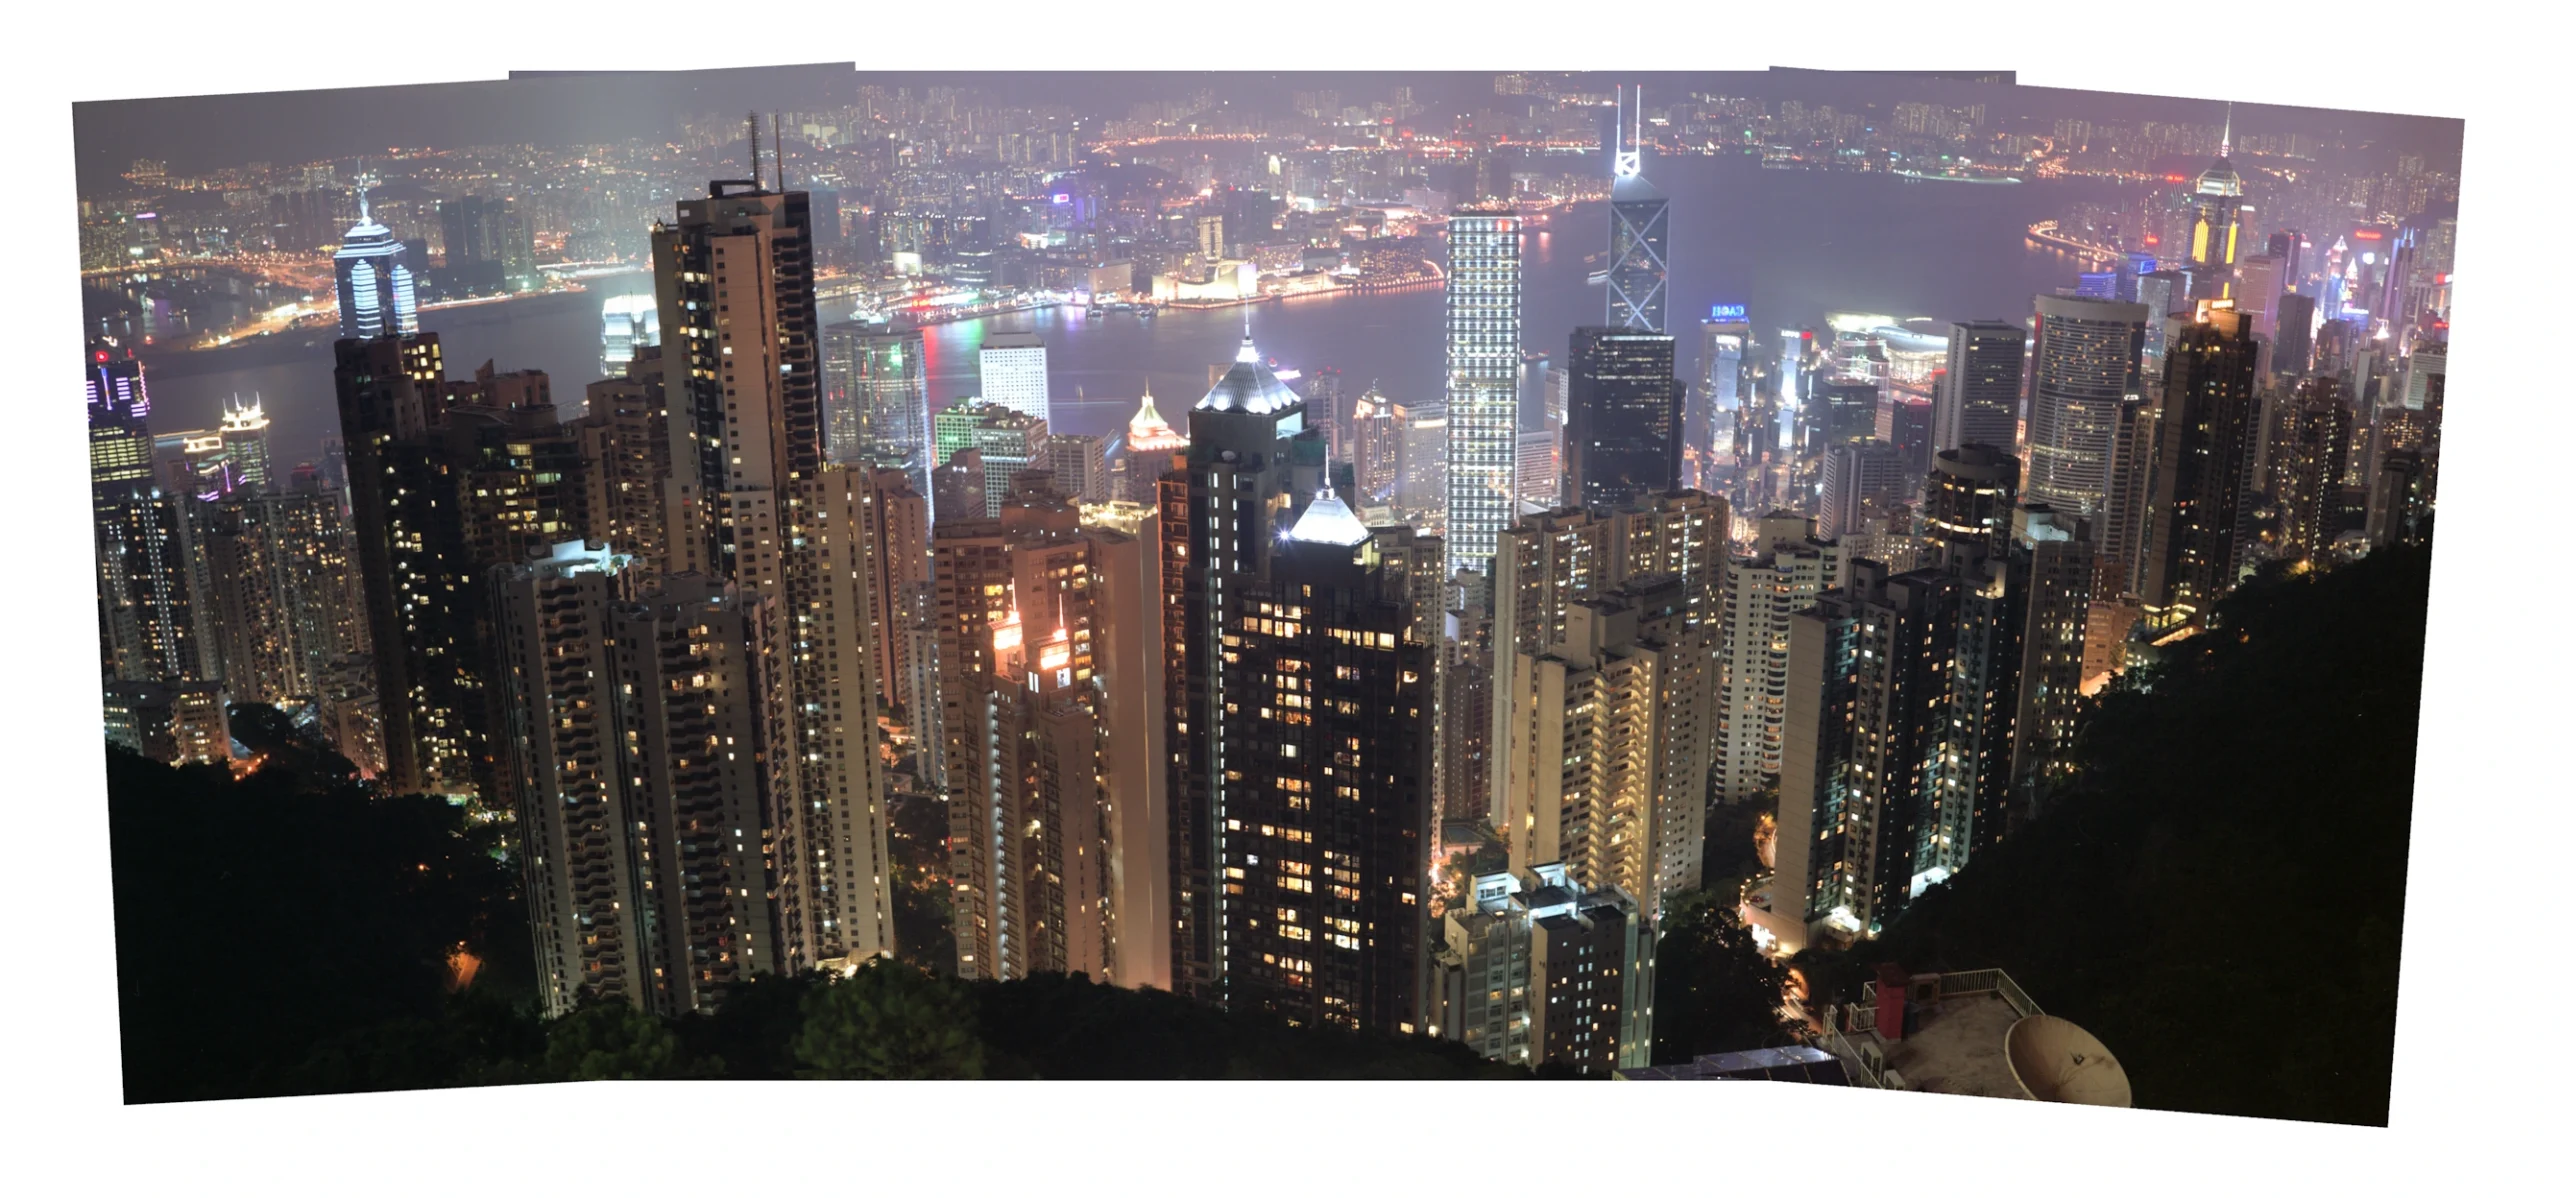
TECHNICAL CHALLENGES
Keep in mind that I was working with high-resolution TIFF files, and each was roughly 50MB. It didn’t help that I was using Window 98 powered by a Pentium III computer. I don’t recall how much RAM was in this computer, but it probably wasn’t a vast amount, compared with today’s machines. As I recall, this single-core computer struggled with the massive images.
Despite my best efforts, the images were still out of alignment. I cloned along the seams. The best way to handle this was to change the opacity of the top image to about 50% so I could see what was underneath. Once completed, I removed opacity. I made the seam as faint as possible by making slight adjustments to brightness and contrast.
After I stitched the photos together, I created a second flattened image, so that I could do final cloning and image toning.
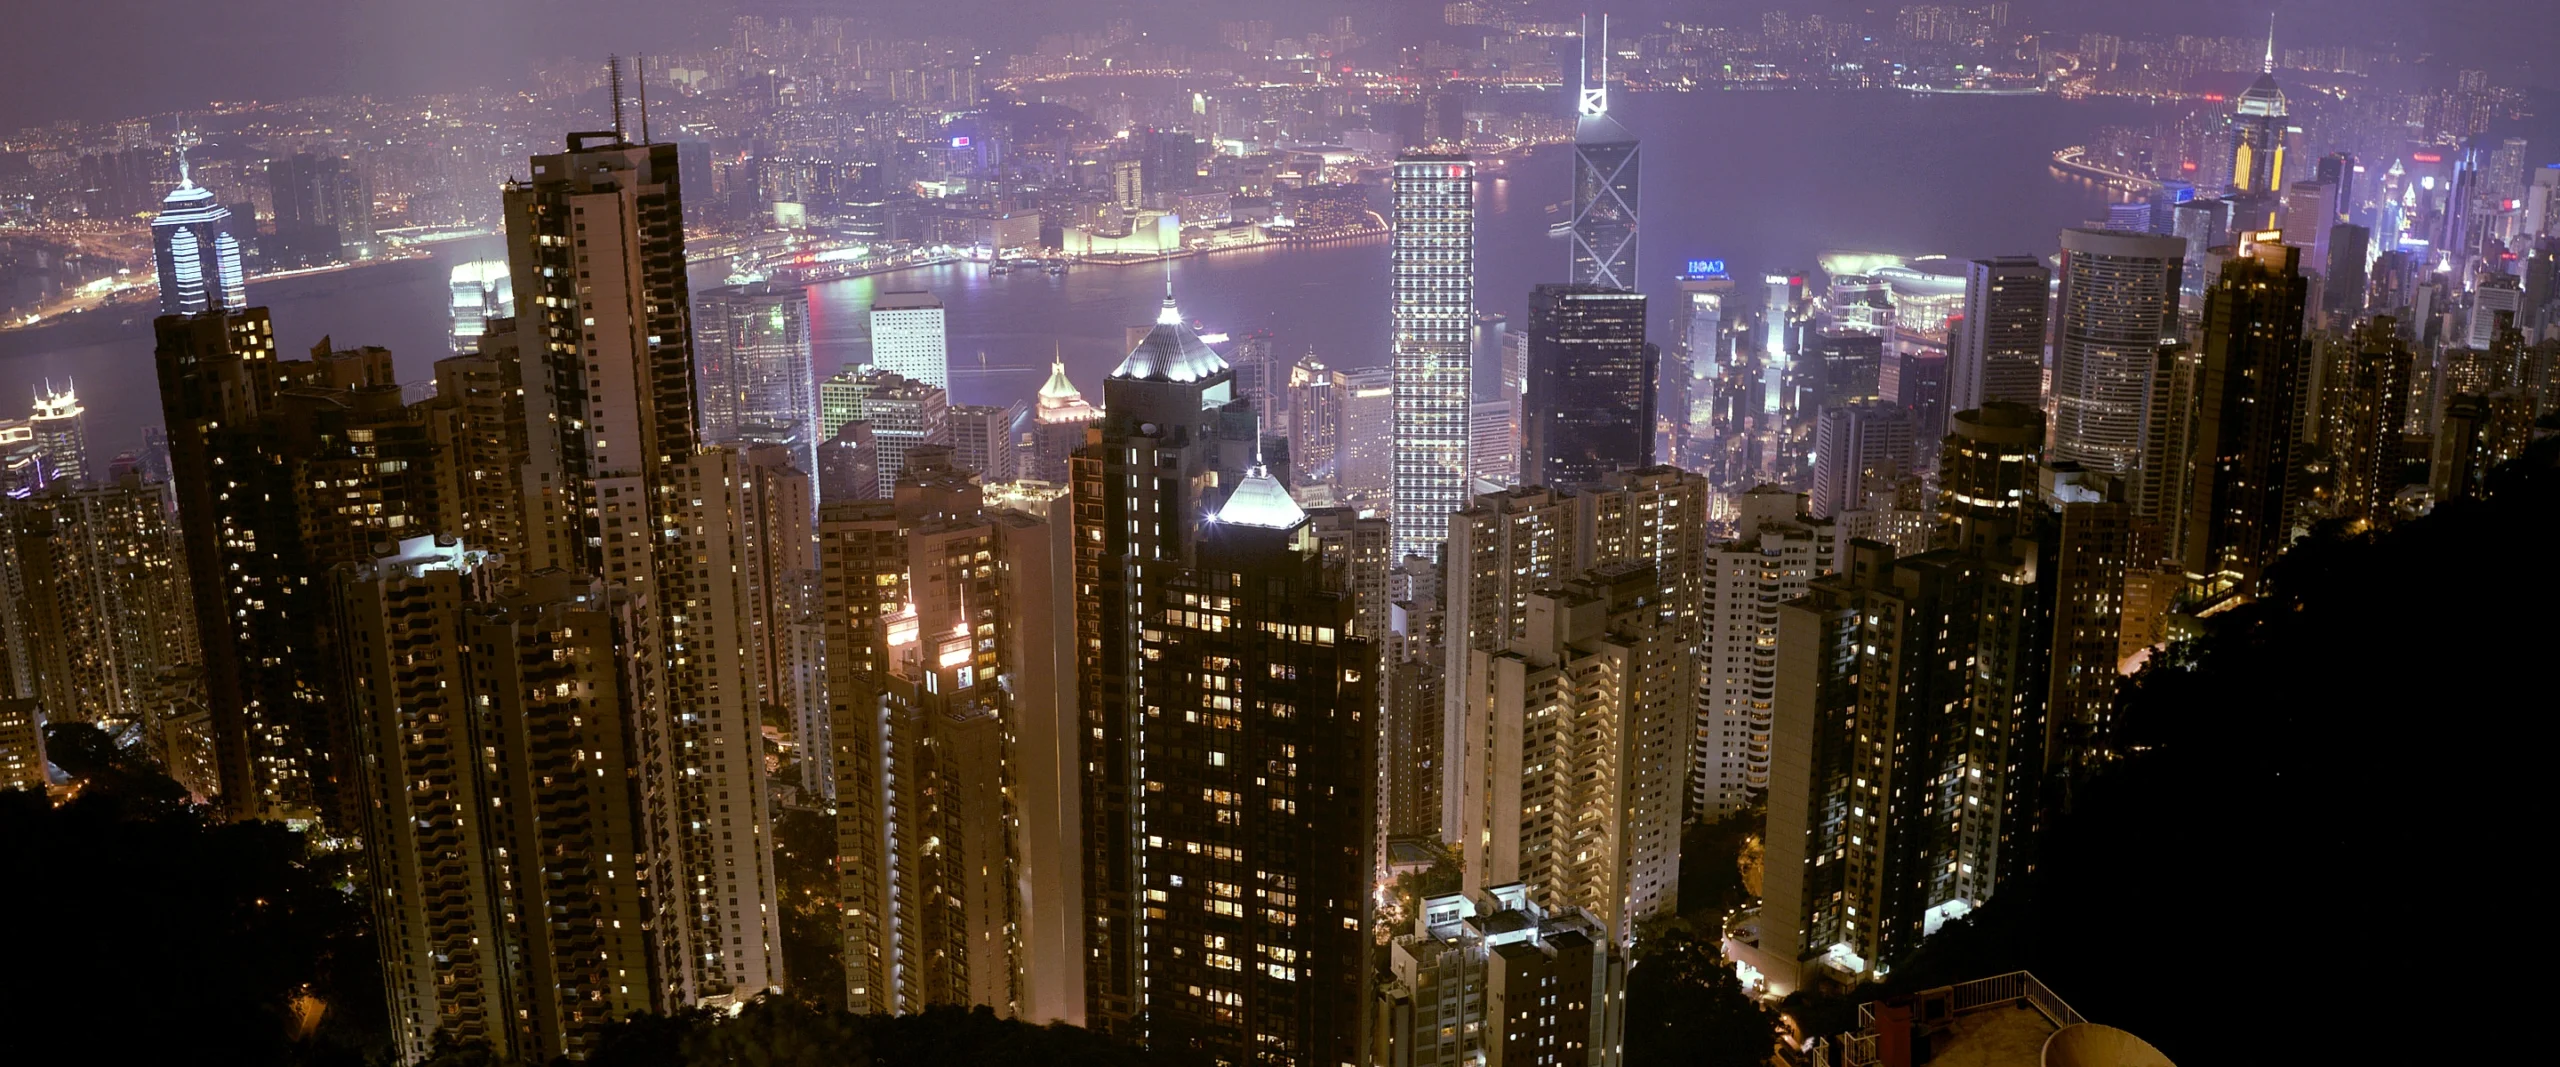
The one thing that impressed me then and today is the detail recorded by the 1937 Tessar.
Keep in mind that the images you see here are compressed images, so detail is lost in order to keep the file sizes and download times within reason.
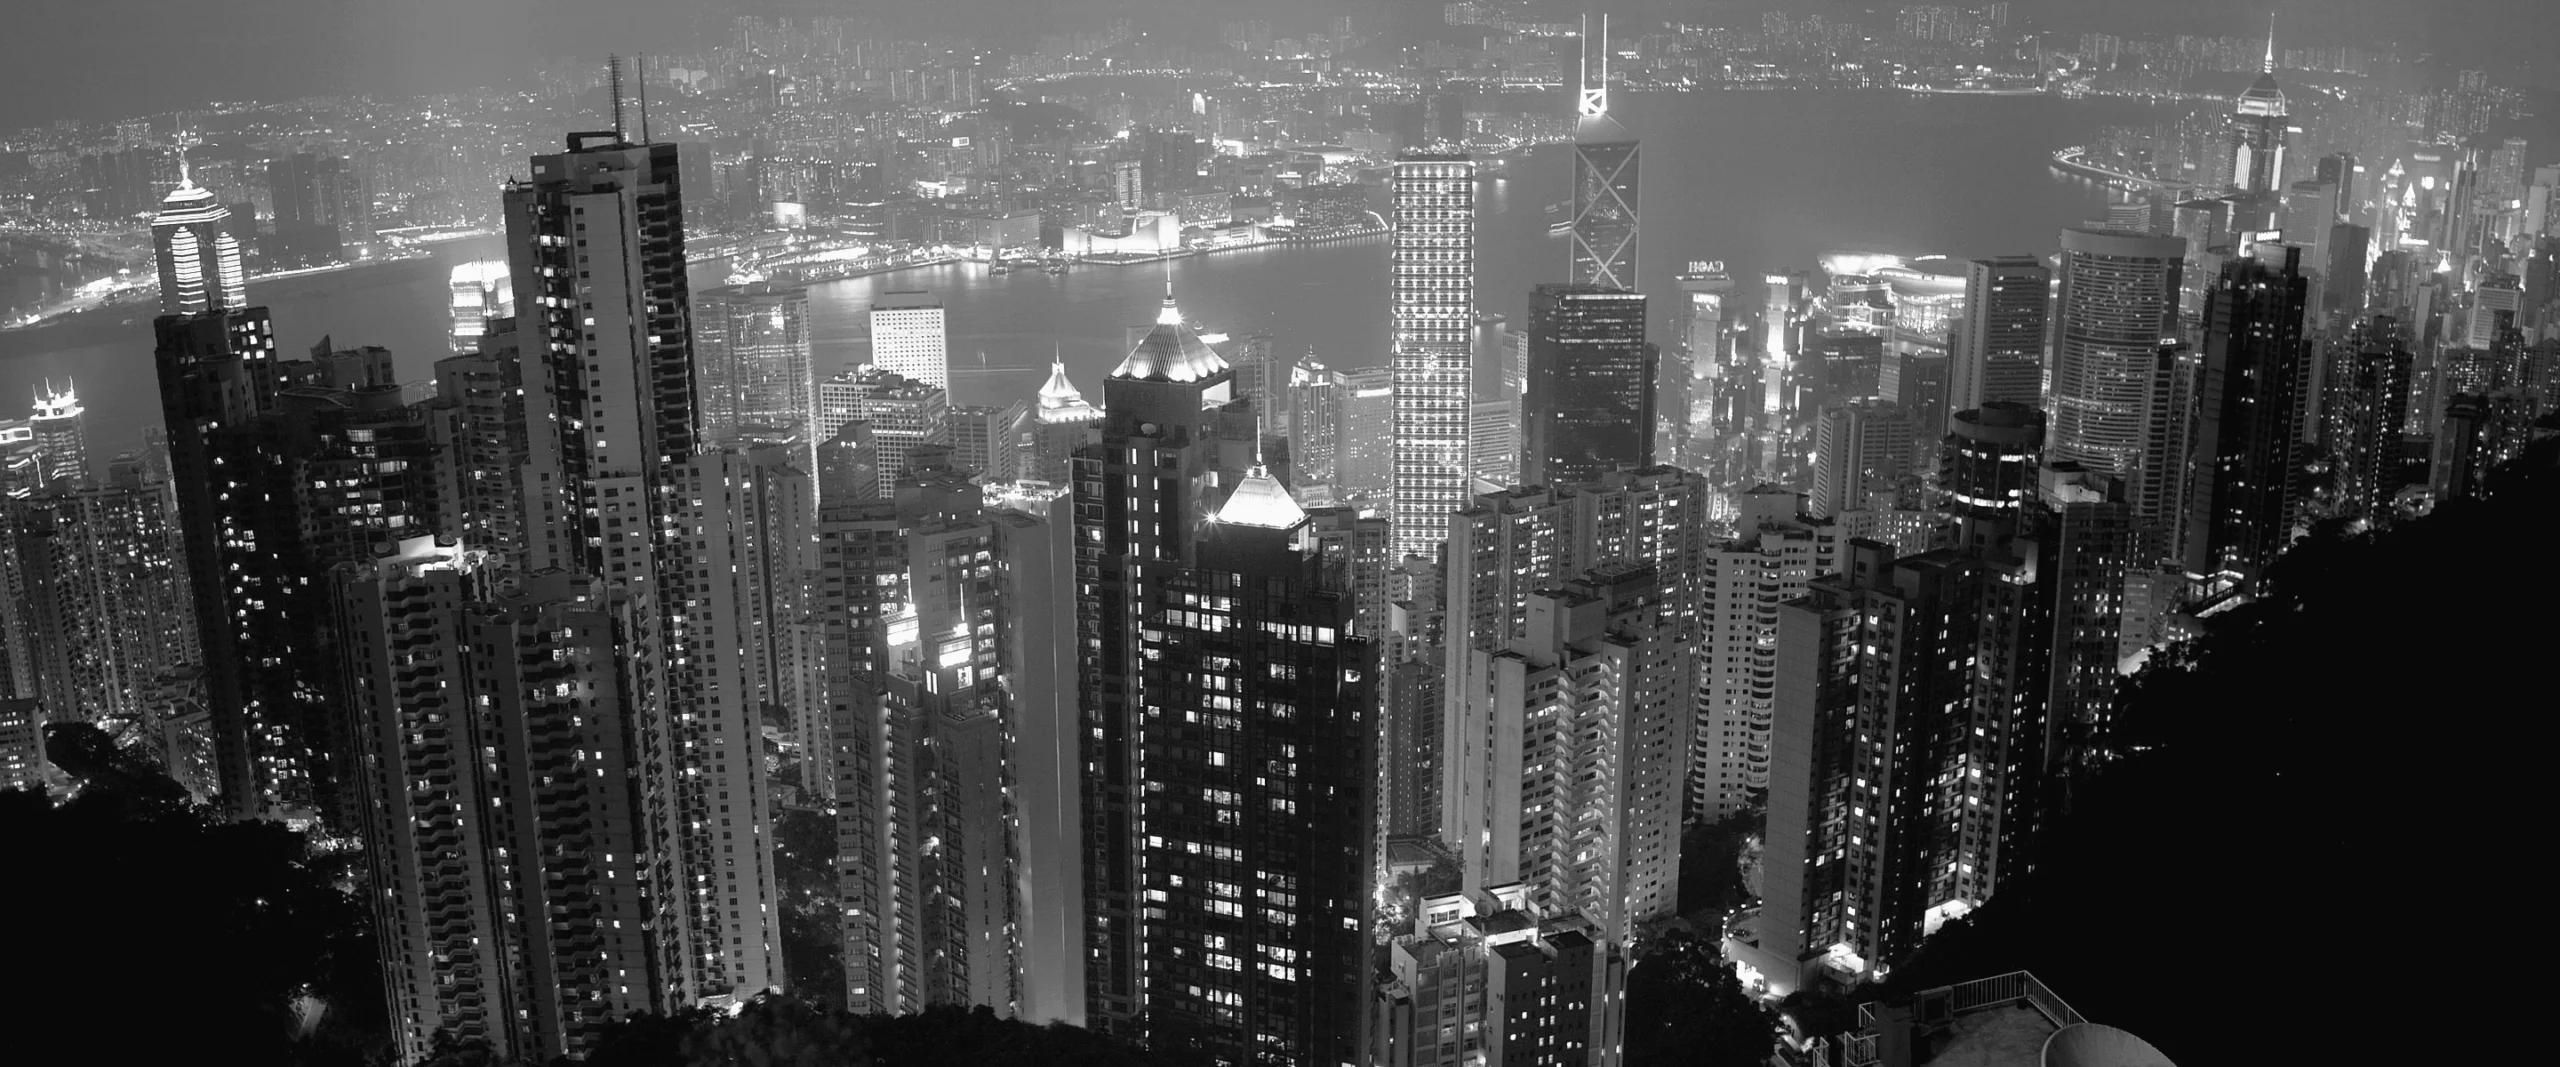
The final image was 9,551 x 5,061 at 138MB. I’m very happy with the results. I created a black and white version, too.. After more than a couple of decades, I still go back and forth on which I like best. Sometimes, it depends on whether I’m in a color or black and white mood.
I like this photo, because it gives you a good idea of the grandeur of this city.
I ended up making a print that was about 20 inches wide. I had it framed, and I gave it to Bill shortly after he was laid off by KPMG and sent back to the U.S.
